Can You Really Automate Your Garden with Arduino? Exploring the Possibilities
- STEM-ulate
- Mar 30
- 4 min read
The idea of automation is revolutionizing how we approach countless tasks, and gardening is no exception. Picture a garden where the plants flourish without needing your constant oversight. With Arduino, a straightforward and accessible microcontroller, creating an automated garden is not just feasible; it can also be an enjoyable and educational experience. In this post, we will explore the realm of smart garden automation with Arduino and uncover the exciting possibilities that await.
What is Arduino?
Arduino is an open-source electronics platform that combines user-friendly hardware and software. It's designed for everyone, from beginners to seasoned pros, to engage with electronics and coding. With a wide range of sensors and modules available, Arduino simplifies the process of creating interactive projects that can control different aspects of your environment, such as temperature, moisture, and light conditions.
Why Automate Your Garden?
Automating your garden with Arduino comes with numerous benefits for gardening enthusiasts. For example, systems that monitor soil moisture levels can reduce watering frequency by up to 50%, ensuring that plants get just the right amount of water. Furthermore, automated irrigation can save significant water—potentially up to 30% less usage compared to traditional methods.
Monitoring environmental conditions with sensors also helps you give your plants optimal care, promoting healthier growth. The time you save can be redirected towards enjoying your garden or pursuing other projects.
Basic Components You’ll Need
To get started with automating your garden using Arduino, here are some key components you will need:
Arduino Board: This serves as the central hub for your automation. The most popular options are the Arduino Uno and Arduino Mega.
Soil Moisture Sensor: This detects the moisture content in your soil, helping you know when to water.
Water Pump: Used to automatically irrigate your plants.
DHT11/DHT22 Sensor: Measures temperature and humidity, providing essential data for adjusting your garden's environment.
Light Sensor (LDR): Monitors sunlight exposure, allowing you to optimize lighting conditions for your plants.
Relay Module: Controls the water pump based on signals from the Arduino.
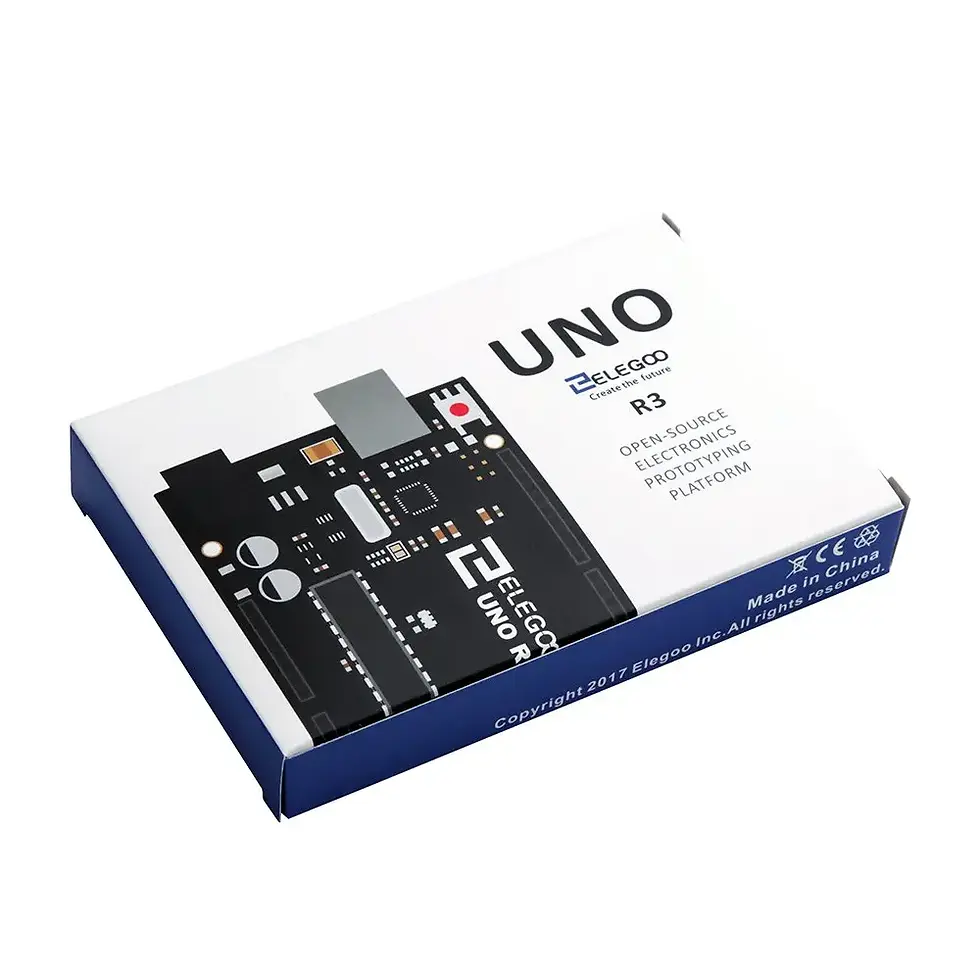
Elegoo Uno R3 Board
Setting Up Your Automated Garden
Step 1: Building Your Circuit
Begin by connecting your sensors and components to the Arduino board. Here’s a straightforward guide to wiring your setup:
Connect the soil moisture sensor to an analog pin on the Arduino.
Attach the DHT sensor to a digital pin.
Wire the light sensor to another digital pin.
Use the relay module to control the water pump. Always adhere to safety guidelines to protect your components.
After assembling your circuit, confirm that each connection is secure.
Step 2: Coding the Arduino
Once your circuit is complete, it’s coding time. Your program will read sensor values and activate the water pump based on moisture levels. Here's a simplified code example:
include <DHT.h>
define DHTPIN 2
define SOIL_MOISTURE_PIN A0
define RELAY_PIN 8

DHT dht(DHTPIN, DHT11);
void setup() {
	Serial.begin(9600);
	pinMode(RELAY_PIN, OUTPUT);
	dht.begin();
	}
void loop() {
	int soilMoistureValue = analogRead(SOIL_MOISTURE_PIN);
	if (soilMoistureValue < 400) { // Adjust based on soil type
	digitalWrite(RELAY_PIN, HIGH); // Turn on pump
	 } else {
	digitalWrite(RELAY_PIN, LOW); // Turn off pump
	}
delay(10000); // Wait 10 seconds before measuring again
}
Adjust the moisture threshold according to your soil type, as this can vary.
Step 3: Testing Your System
Now it’s time to test your automated garden. Monitor the soil moisture levels and observe how the pump operates. Be ready to refine both your code and parameters until your plants receive the right amount of water.
Expanding Your Automation Features
One of the best aspects of an Arduino-based garden is the ability to continually upgrade your system. Consider these additional features:
Automated Lighting
Integrate smart grow lights that turn on automatically based on your light sensor's readings. If sunlight drops below a specific level, the lights activate, ensuring your plants get enough light throughout the day.
Temperature Control
Utilize your DHT sensors not just for humidity and temperature readings but also to control heating or cooling systems. For example, you could set fans to operate when temperatures exceed a certain point, keeping your garden environment stable.
Remote Monitoring
By adding a Wi-Fi module like the ESP8266, you can monitor your garden’s status from anywhere. Receive alerts when moisture levels are low and make adjustments remotely via your smartphone or computer.
Common Challenges and Troubleshooting
As you embark on your Arduino garden project, you might face a few hurdles. Here are some common issues and potential fixes:
False Readings from Sensors: Inaccuracy in sensor readings can stem from environmental factors or faulty wiring. Regularly check connections and calibrate your sensors.
Pump Not Activating: If your water pump fails to turn on, double-check the relay connections and confirm the Arduino is sending the correct signals. Make sure the pump is receiving power.
Managing Water Levels: Tweak the moisture thresholds based on how the plants respond. Consider a logging system to track changes and optimize your parameters.
Discovering Community Projects
The Arduino community is vibrant and full of shared projects. Platforms such as Instructables and GitHub offer countless inspirations, from detailed guides to preconfigured modules to help you along your automation journey.
The Future of Garden Automation
As technology evolves, so too does the potential for garden automation. Innovations we can anticipate include:
Data Analysis: Collecting data on growth patterns and environmental variables could lead to insights that enhance care and yield.
Sustainable Solutions: Using renewable energy sources like solar panels to power your garden system could further reduce your environmental footprint.
Embracing Your Automated Garden Experience
Automating your garden with Arduino is not just a possibility; it is an exciting reality. With the right components, some coding skills, and creativity, you can develop a flourishing garden ecosystem tailored to your needs. Whether aiming for convenience, sustainability, or a fresh approach to gardening, Arduino provides endless avenues for exploration.
コメント