DIY Project with ELEGOO UNO R3 Board and Custom Case: A Beginner's Guide to Electronics
- STEM-ulate
- Mar 29
- 3 min read
One of the most popular entry points for this creative outlet is the ELEGOO UNO R3 Board. When paired with practical enclosures like custom project cases, you can safely explore a realm of hands-on projects. This guide will help you unlock your potential by offering insights and examples to enhance your DIY journey.
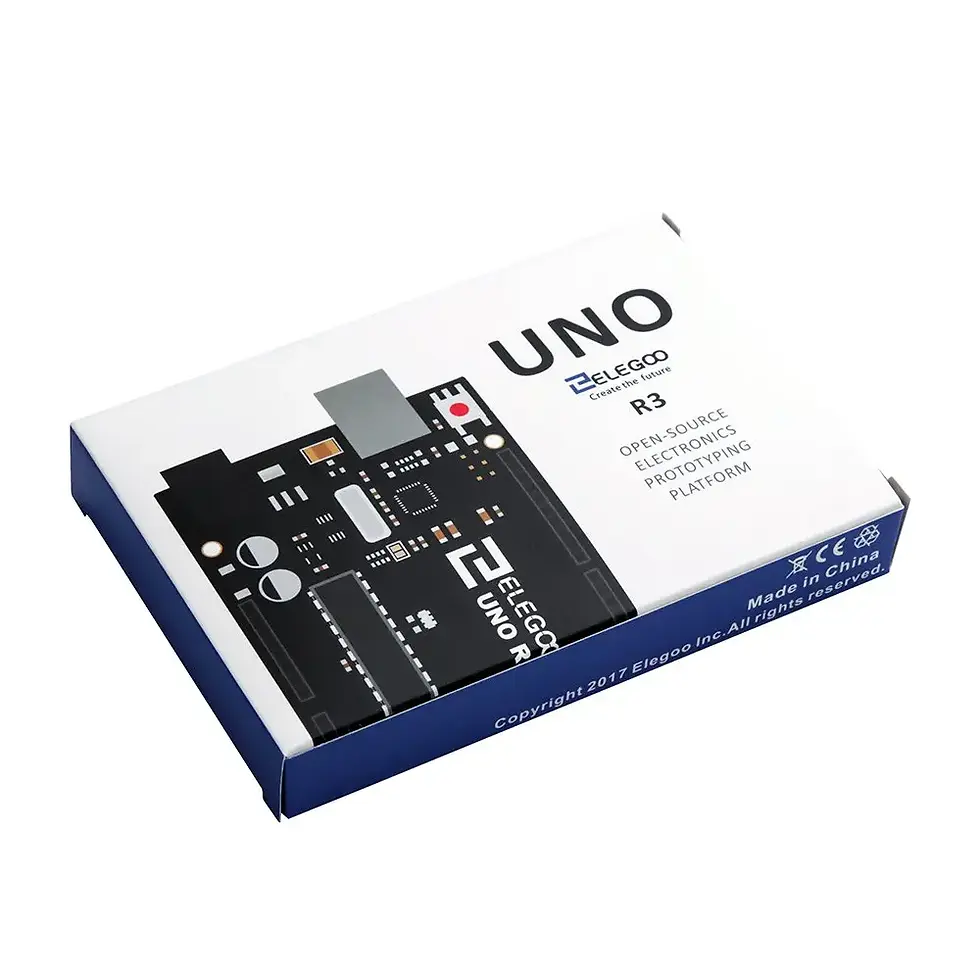
Why Choose the ELEGOO UNO R3 Board?
The ELEGOO UNO R3 Board is built on the ATmega328P microcontroller, making it an excellent starting point for anyone interested in DIY electronics.
The board’s versatility means it can be used for an array of projects. For example, you could create a simple LED blink program or design a more ambitious automated plant watering system. More than 50% of users report their first project was using this board, thanks to its ease of use and extensive available resources.
With a price tag around $15.99, the ELEGOO UNO R3 Board is not only affordable but also well-supported by a large community. This support can be invaluable; beginners often find help in forums and tutorials, making the learning curve less daunting. Additionally, it introduces users to coding and hardware connections, helping them develop a solid understanding of both disciplines.
Custom Project Cases: From Concept to Creation
After diving into electronics, housing your projects in protective enclosures is crucial. This is where Custom Aluminum Junction Boxes excel.
These sturdy cases not only shield your projects from dust and moisture (with an IP55 rating) but also provide a sleek, professional appearance. You can find these boxes in various sizes, with the option to customize colors to suit your design.
For example, if you create a project with an LED display, using a well-fitted custom case can enhance its visibility and overall appeal. These junction boxes allow you to create visually compelling projects while ensuring they remain safe.
Getting Started with Your First Project
Starting your electronics journey involves a blend of curiosity and the right materials.
Here’s a straightforward beginner project to kick off your experience:
Materials Needed:
ELEGOO UNO R3 Board
Custom Aluminum Junction Box
LED lights (various colors)
Resistors (220 ohm)
Breadboard and jumper wires
USB cable
Step-By-Step Instructions:
Setting Up Your Workstation
Find a clean, well-lit area to gather your materials. Keep your computer close for code uploading.
Wiring Your Circuit
Use a breadboard to connect your LED lights to one of the digital pins on the ELEGOO UNO R3 Board. For each LED, connect a 220-ohm resistor in series to prevent excessive current.
Use jumper wires to make these connections. A simple circuit can brighten your experience and help visualize the concepts.
Programming Your Board
Open the Arduino IDE on your computer, choose the correct board type, and write basic code to turn the LED lights on and off.
Upload this code to the board through your USB cable. This step introduces you to programming basics.
Housing Your Project
After checking that your circuit functions properly, place your components carefully into the Custom Aluminum Junction Box.
Make sure that any buttons or switches are accessible from the outside for easy use.
Finalizing Your Project
Secure the junction box with its panels and test everything one last time.
Confirm that your project operates as intended in its new housing.
Tips for Expanding Your DIY Projects
Once you feel comfortable with your first project, let your imagination soar. Here are some ideas to elevate your skills:
Explore additional components like temperature sensors, motion detectors, or audio outputs. These can significantly enhance your projects, adding new dimensions.
Consider creating more advanced systems, such as a home automation setup that allows you to control devices from your phone or an automatic irrigation system that waters your plants based on soil moisture.
By experimenting with various components and features, you deepen your understanding and keep the creative spirit alive.
Staying Connected with the DIY Community
The power of community is another essential element in the DIY electronics world. Engaging with fellow enthusiasts can inspire you and help solve potential challenges.
Join online forums, social media groups, or local maker spaces to connect with others. Participating in community events or workshops can open new doors and provide fresh insights into various projects.
By sharing your creations and providing feedback on others’ projects, you can spark your creativity and contribute to a collective knowledge base.
The Joy of Continuous Learning
The DIY electronics field is vast and dynamic. Starting with the ELEGOO UNO R3 Board and a Custom Aluminum Junction Box gives you a firm foundation for ongoing learning.
As you explore, create, and connect with others, you will discover that each project is a stepping stone towards more significant innovation.
You’ll find fulfillment not just in building, but also in sharing your journey and knowledge, enhancing the understanding of this exciting craft among peers.
Comments