How I Turned My Spare Bedroom into the Ultimate DIY Electronics Workshop
- STEM-ulate
- Mar 30
- 4 min read
Have you ever imagined transforming that spare bedroom into something truly amazing? I did just that, and I want to share my journey with you! Creating a DIY electronics workshop has been one of the most rewarding projects I've undertaken. It was about more than just repurposing a room; it was about crafting a space where creativity and technology come together.
In this blog post, I will walk you through the steps I took, the choices I made, and some lessons I learned along the way. This guide is perfect for anyone looking to create their own DIY electronics haven.
Planning the Space
Before I jumped into setting things up, I knew careful planning was essential. Understanding the dimensions of the room was crucial. The spare bedroom I chose was small but cozy—a perfect fit for a workshop.
I spent time sketching out a layout. I noted where to place my workbench, tool storage, and equipment. This visualization helped me maximize the space and ensure efficiency in my workflow.
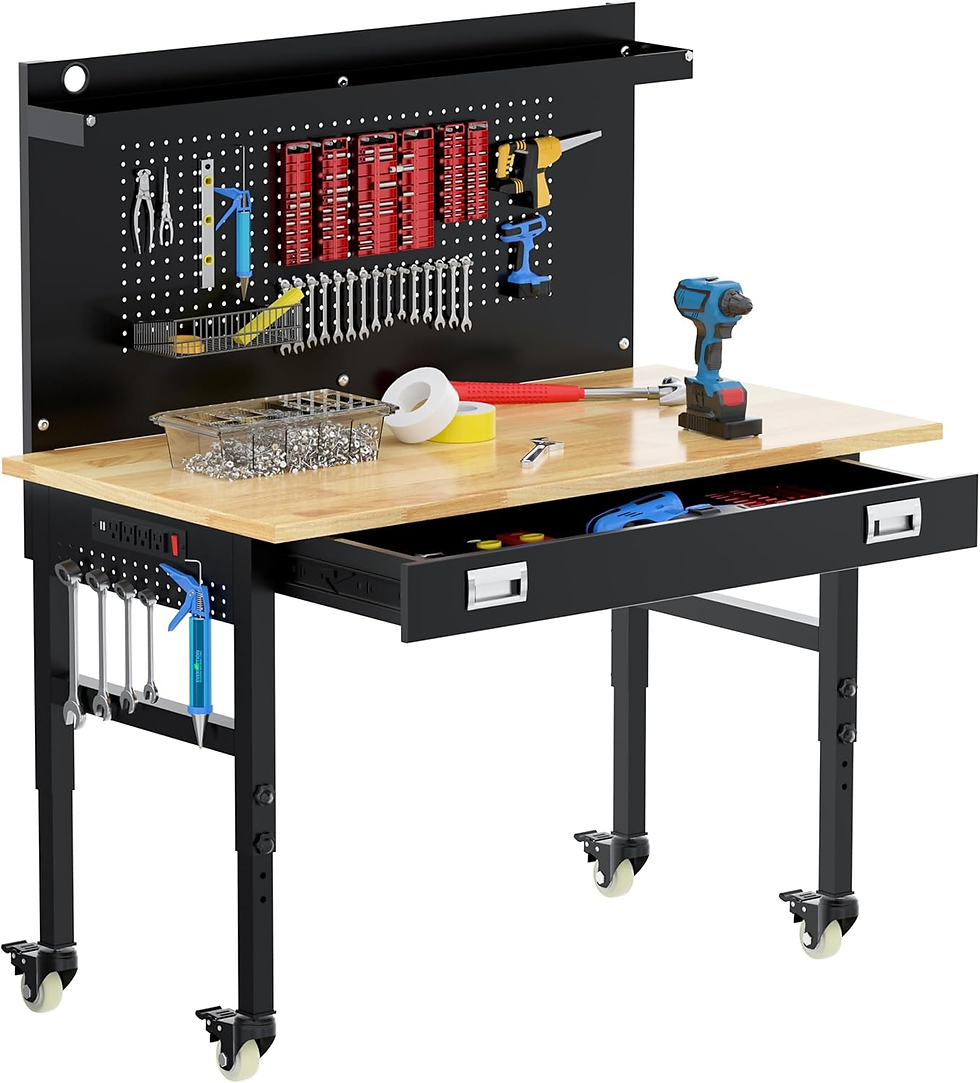
Choosing the Right Workbench
The workbench is the heart of any DIY electronics workshop, where the real transformation happens!
I selected a robust table that could support heavy equipment and provided enough surface area for my various projects. I opted for an adjustable-height workbench to maintain comfort during long sessions of tinkering.
Storage space was a key component for me. I wanted ample storage beneath the workbench to keep the workspace organized. This way, I could easily access tools and materials without cluttering my work surface.

Organizing Tools and Materials
Once the workbench was set up, organizing tools and materials became my next priority. An organized space significantly boosts productivity.
I invested in wall-mounted pegboards. These allow me to hang tools and keep them visible and easily accessible. I labeled each section so I could quickly find what I needed.
For smaller components like resistors and capacitors, I arranged clear storage bins on a shelving unit. This setup makes it easy to see all my supplies at a glance, which keeps the creative juices flowing.
Choosing the Right Electronics Equipment
A well-equipped DIY electronics workshop requires a few essentials. Here’s what I started with:
Multimeter: Measuring voltage, current, and resistance with a reliable multimeter is critical for any project. I used a digital multimeter with a backlit display, which made reading measurements easier.
Soldering Iron: A temperature-controlled soldering iron offers precision, essential for the fine work involved in electronics.
Power Supply: I invested in a variable power supply that allows me to adjust voltage levels from 0 to 30 volts, making it versatile for different projects.
Oscilloscope: This tool is helpful for visualizing electrical signals, enabling efficient trouble-shooting of circuits.
Each of these tools has revolutionized my DIY capabilities, allowing me to confidently tackle more complex projects.
Lighting and Ventilation
Good lighting and ventilation are often overlooked but are crucial for creating a comfortable workspace.
I installed bright LED lights directly above the workbench. These not only illuminate the workspace effectively but also reduce eye strain during late-night projects. A study showed that proper lighting can boost productivity by up to 20%.
Additionally, I placed a small fan in the room to ensure proper airflow, especially when soldering. This detail keeps the air fresh and the space inviting.
Incorporating a Digital Corner
In our tech-driven world, having a digital corner is almost a necessity. I set up a small desk area equipped with a computer. This is where I do research, watch tutorials, and plan new projects.
Running simulations and programming microcontrollers is seamless in this area. I made sure to have high-speed internet access to connect with online communities and forums whenever I need help or inspiration.
Safety Measures
Working with electronics comes with hazards, making safety a top priority.
I designated a corner for safety gear, including gloves, goggles, and a first aid kit. I also installed a small fire extinguisher to address any emergencies.
Ensuring that all my electrical connections are secure and comply with safety standards is essential. It’s always better to be safe than sorry!
Personalizing the Workshop
As the workshop started to come together, I found time to add personal touches. I decorated the walls with circuit diagrams, and other helpful information. This not only adds character but also motivates me every time I enter the space.
I also included a mini fridge in the corner to keep drinks cool. Having refreshments handy makes longer sessions more enjoyable.
Optimizing the Workflow
With everything set in place, I began working on projects and quickly learned the importance of a clear workflow.
I keep ongoing projects organized in a visible area to prevent them from getting buried under new assignments. A “To-Do” board helps me track tasks that need attention, while completed projects are displayed proudly on a shelf.
Staying Inspired
Maintaining inspiration is vital for any DIY enthusiast. Whenever possible, I attend local maker fairs and electronics expos. Seeing what others create and learning new techniques reinvigorates my passion.
Watching online tutorials and following influential DIY electronics creators keeps my ideas fresh. Whether it’s building a robot or creating a gadget, there’s always something new to explore.
Reflecting on the Journey
Transforming my spare bedroom into a DIY electronics workshop has been an incredible journey filled with creativity and growth. It took careful planning, effort, and a bit of imagination, but the results have been worth every minute.
If you have a spare room or corner in your home, I encourage you to take on this project! You don't need a large budget or extensive space to create an amazing workshop.
Comentarios